>Electronics>NRF 24 Board
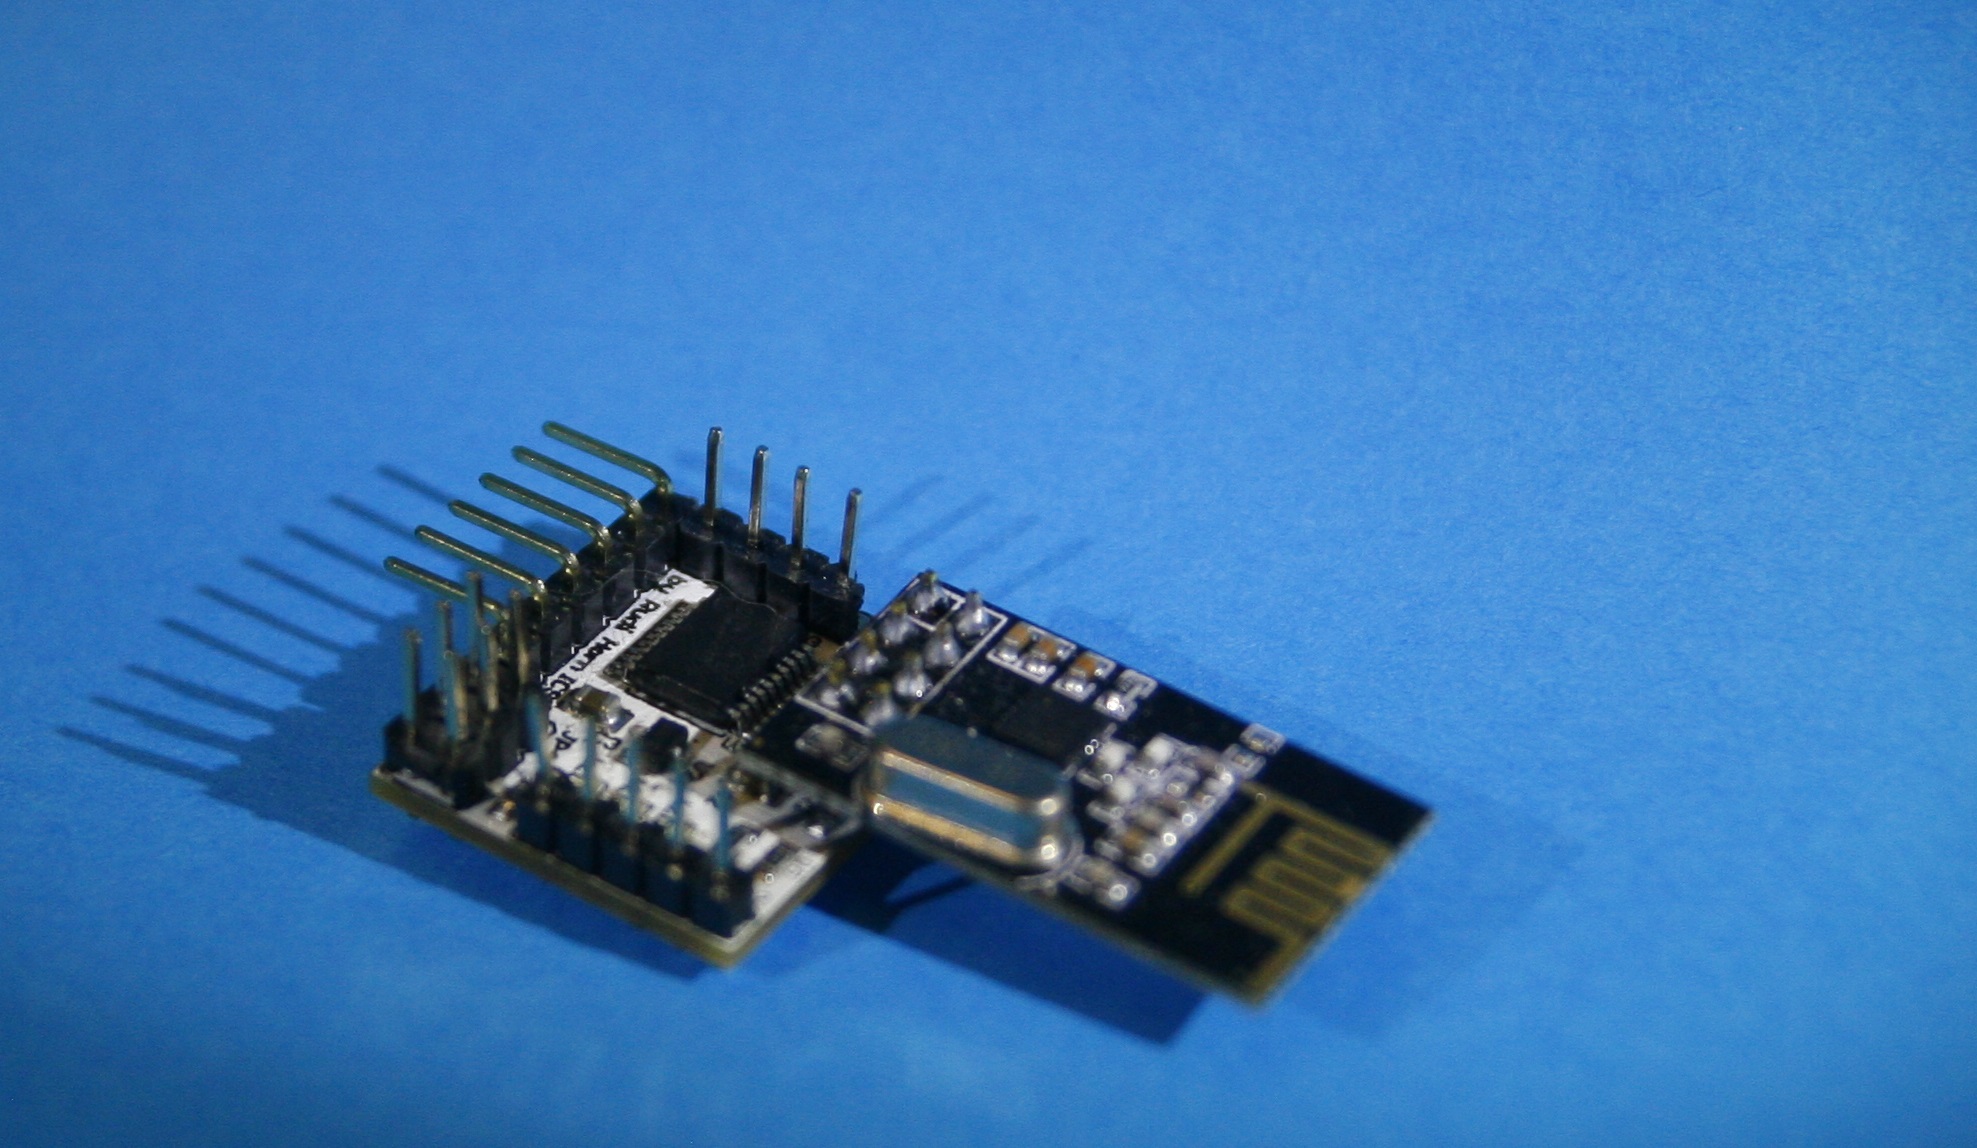
NRF24 Board
The board itself was designed by myself and is supposed to be a low cost platform which requires little extra work for wireless applications.
Sadly because this is only a small hobby project I cannot offer or link to any finished PCBs but it is possibly to order everything you need including the PCB you need fairly cheaply and then with a little bit of practice and some extra solder flux you can solder the PCBs by hand.
The build of materials below shows an estimated price needed to build one board. Some parts have minimum order quantities but they are all fairly small and quite affordable. (e.g. the PCB costs 11 EUR for 10 pieces).
Build of Materials (BOM)
| Parts | Count | Item | Shop | Article Id | Cost per Piece in € | Total Cost in € | Comment |
| PCB | 1 | PCB | Elecrow | 5x5 cm PCB | 1.10 | 1.10 | You can get the PCB etched wherever you like, this is the cheapest place I could find plus you can choose any colour you like |
| U3 | 1 | PIC24F16KA301-I/SS | Farnell | 1898794 | 2.57 | 2.57 | Microcontroller, also available from many other shops such as Microchip Direct, Recichalt, etc. Alternative: PIC24F32KA301-I/SS, same chip with more Flash |
| JP1 | 1 | NRF24L01+ | EBay | NRF24L01+ | 1.01 | 1.01 | It is easiest to buy these from ebay, as they are cheaply available from there |
| U2 | 1 | VREG 3.3V SOT23-3 | Farnell | 8796980 | 0.33 | 0.33 | Any 3,3V VREG in a SOT23-3 package will do. I ordered the one from Farnell as they seemed relatively cheap. Keep in mind that the pinout needs to be identical, however most pinouts for VRegs in this package are identical. Alternative: The wireless chip accepts 1.9V - 3.6V and the microcontroller 1.8V - 3.6V so any other voltage is possible. I ordered some 2.5V VRegs as well because they were cheaper (1605553) |
| R1 | 1 | 10k Ohm 0603 SMD | Farnell | 2331740 | 0.009 | 0.009 | Alternative: Anything from 4,7k to 50k Ohm will do, only the package size (0603) is important |
| R3, R4, R5 | 3 | 680 Ohm 0603 SMD | Farnell | 9332251 | 0.005 | 0.015 | Altenative: Anything from 270 to 860 Ohm will do, only the package size (0603) is important |
| LED1, LED2, LED3 | 3 | 0603 SMD LED | EBay | 0603 SMD LED | 0.0145 | 0.0435 | Alternative: Choose a cool color, the mentioned price is for red leds, only the package size (0603) is important |
| C1 | 1 | 0603 100nF ceramic Capacitor | Farnell | 1759037 | 0.007 | 0.007 | Alternative: Any 47nF+ ceramic capacitor will do, only the package (0603) is important |
| C2, C3 | 2 | 0805 4,7uF ceramic Capacitor | Farnell | 1759478 | 0.012 | 0.024 | Alternative: Any 4,7uF+ ceramic capacitor will do, only the package (0805) is important |
| Total | 4.0085 |
Microchip Firmware
To program the device you will need some kind of a programmer. I can recommend the PICKIT 3 clone off ebay, which is available for roughly 24 €.
The default firmware code allows any registers to be remotely written to by another NRF24 device. It also contains a modified mTouch Framework (Copyright Microchip) to easily implement capacitive touch sensing applications. The default sample creates a simple capacitive sense button on Pin A0 which is read out and sent via the wireless chip.
Installation Instructions
Download MPLAB X and then install the XC16 compiler. Afterwards you can connect your PicKit 3 or other Programming Device to your computer and you can simply compile and upload the firmware.
Documentation
NRF24L01 Wireless Chip
Reference
void nrf_init()
Initializes the NRF24L01+ chip.
void nrf_send_packet(void * payload)
Send 32 bytes of payload to the server.
void nrf_tick()
Should be regularily called to check for any interrupts on the microcontroller.
int process_command(uint8 command, uint8 * data)
A function which should be implemented by the user.
command contains the type of command
data pointer to the payload
int process_standard_commands(uint8 command, uint8 * data)
Processes commands common to all boards.
returns 1 if packet was handled, otherwise 0
Capacitive Touch Sensing
Capacitive touch sensing can become a rather complicated topic, which is why I recommend reading some of the application notes written by Microchip. If you are however are simply interested in having a capacitive touch button, it would suffice to get a strip of adhesive copper tape to which you need to solder a wire, which can then be connected to the microcontroller. Keep in mind that capacitive sensors also react to other things, such as water, metal objects etc.!
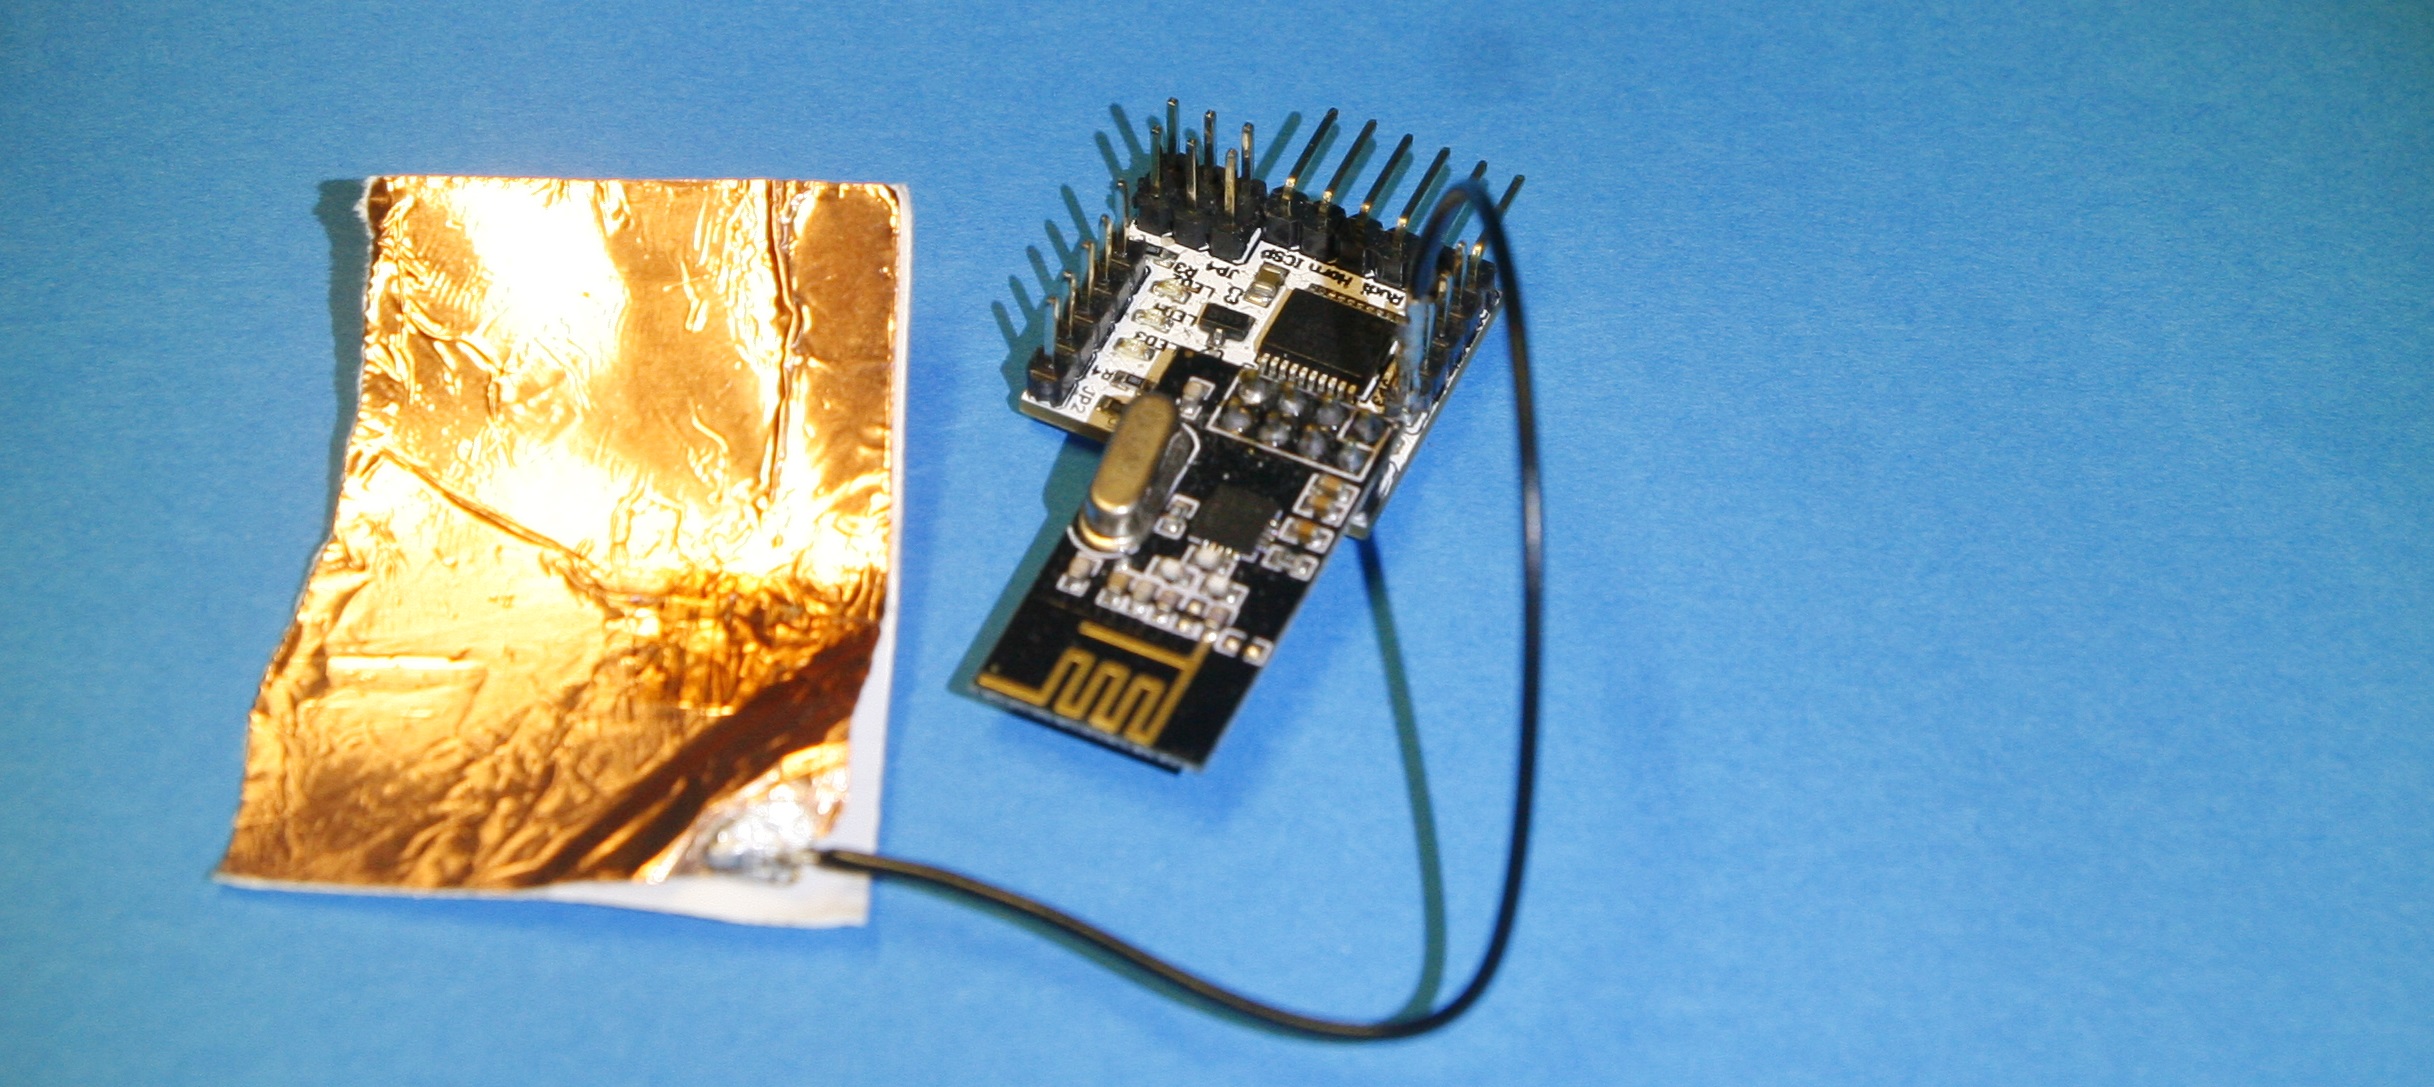
NRF24 board with a connected capacitive touch pad, not including power connections
Reference
CAP_TOUCH_SENSOR_COUNT
This #define is specified in cap_touch_config.h and needs to be set to the number of capacitive touch sensors you need.
void cap_touch_init()
This function needs to be called once before capacitive touch can be used in order to initialize the capacitive touch sensing hardware.
void cap_touch_set_sensor(uint8 sensorNumber, psfr tris, psfr lat, uint8 ioBitNumber, uint8 channelNumber)
Initialize the pin with the tri-state register tris and latch register lat on pin ioBitNumber with analog channel channelNumber as touch sensor number sensorNumber.
Say you would like to initialize pin RA0 as a touch sensor. The 'A' denotes that you need &LATA as the latch register and &TRISA as the tris register. The '0' denotes that you need 0 as the ioBitNumber. In order to get the correct value for the channelNumber you will need to look it up in either the datasheet or in the following table:
| Port | Channel Number |
| RA0 | 0 |
| RA1 | 1 |
| RA2 | 4 |
| RA3 | 5 |
| RB0* | 4 |
| RB1 | 3 |
example: cap_touch_set_sensor(0, &TRISA, &LATA, 0, 0);
* Note that the RB0 pin is normally used as a serial output.
uint8 cap_touch_get_state(int sensorNumber)
Reads the state of the specified sensor. It is comparable to the following values:
| Value | Comment |
| SENSOR_INITIALIZING | The sensor is still initializing and its value should not be used |
| SENSOR_RELEASED | The sensor has not detected a capacitive object |
| SENSOR_PRESSED | The sensor is being pressed |
| SENSOR_DISCONNECTED | The sensor could not detect a capacitive pad and has been disabled |
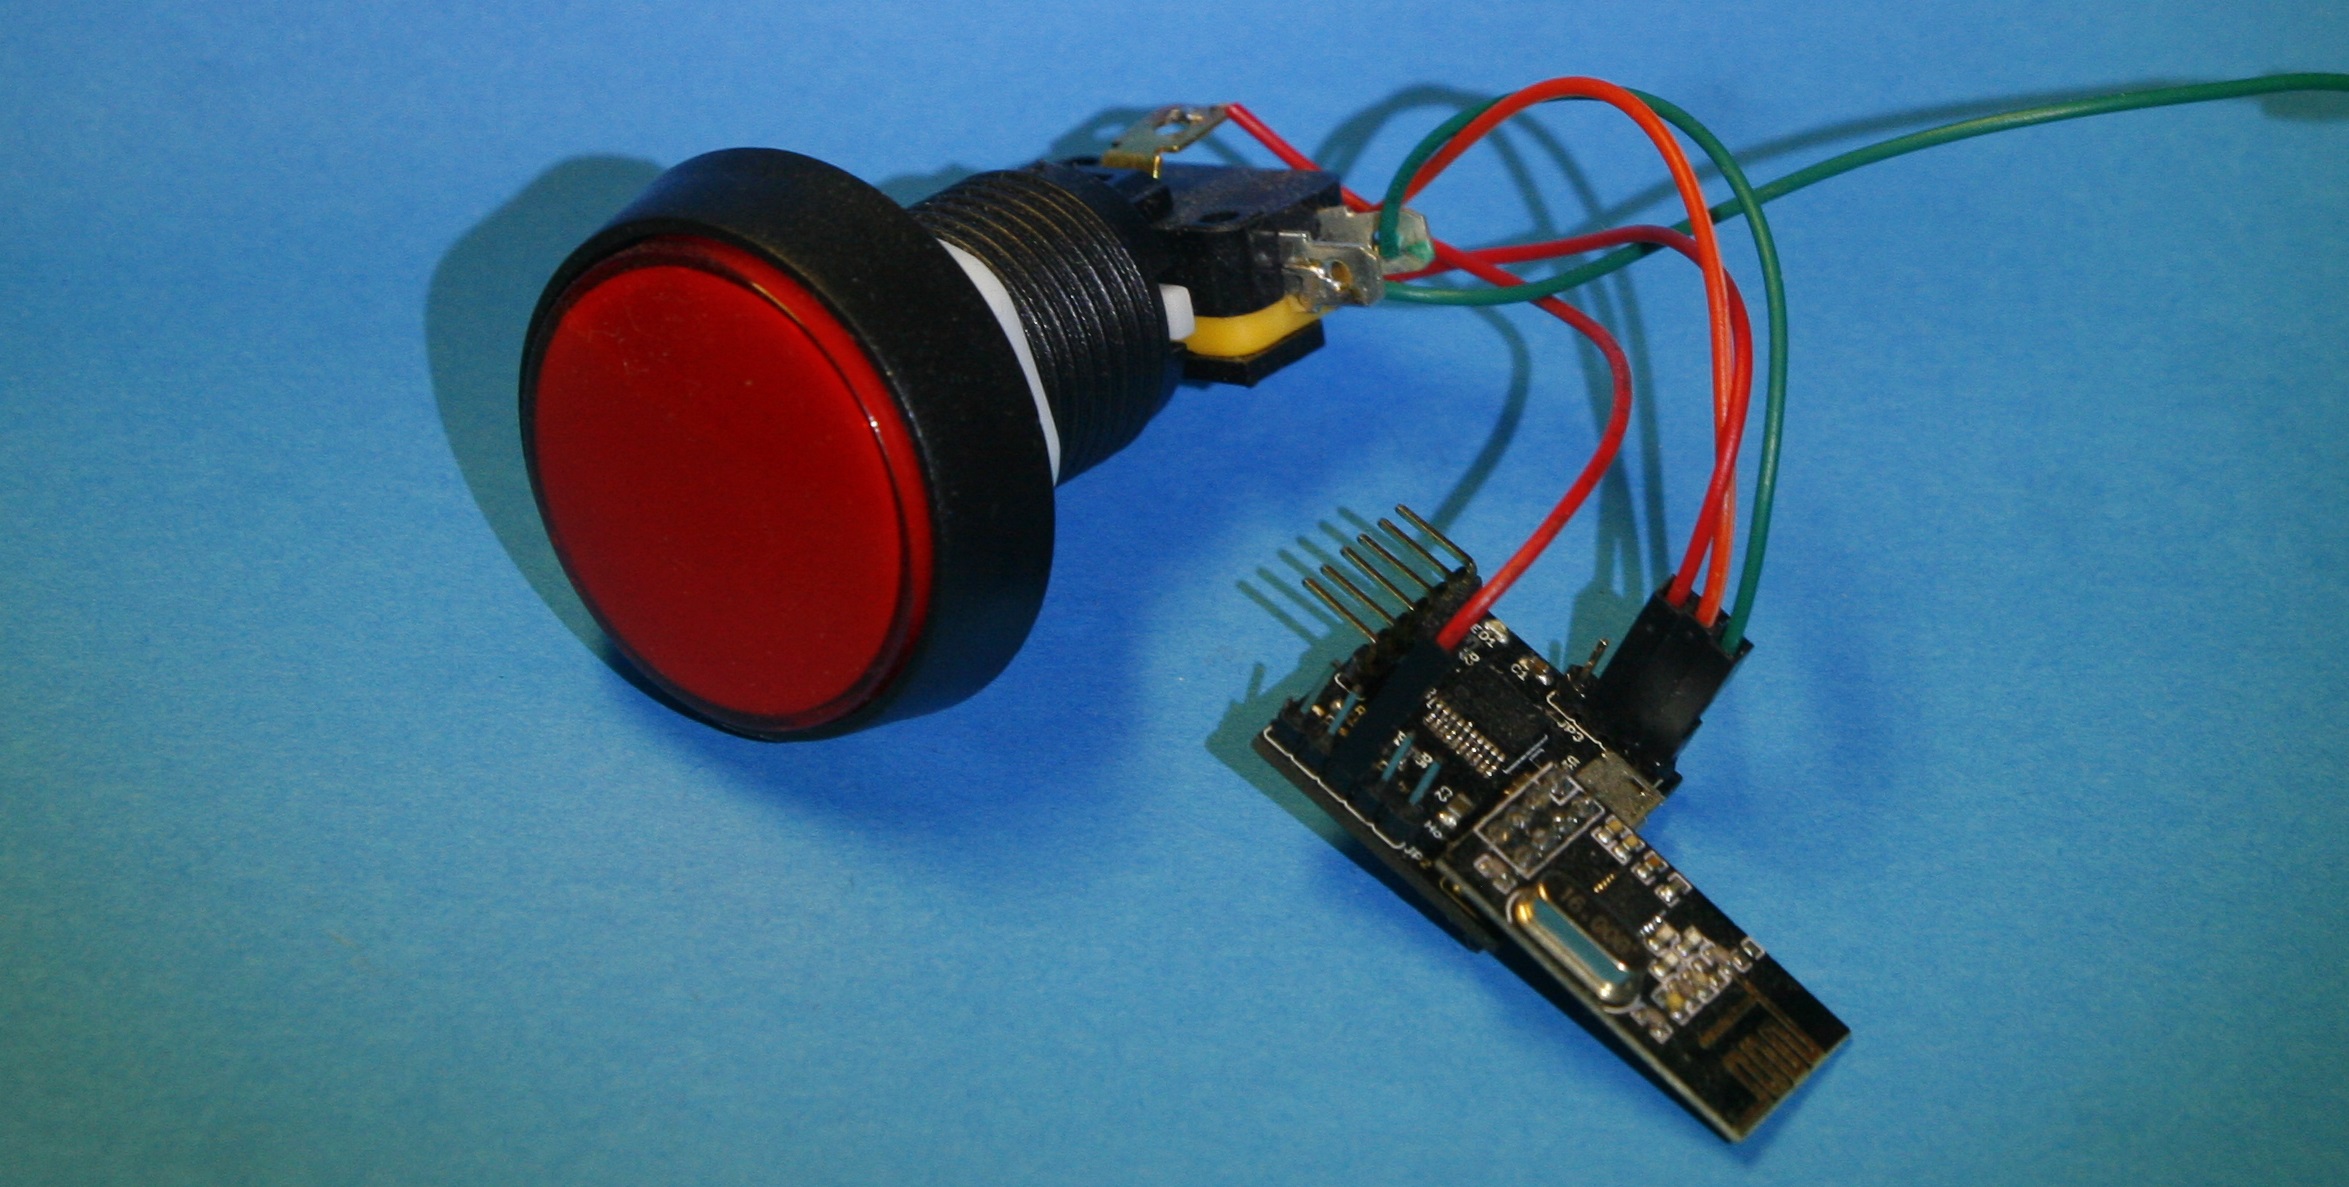
Arcade Button
As an alternative to capacitive touch the boards can be connected to arcade buttons which contain built in LEDs.
Downloads
> Download PCB EAGLE Layout
> Download PCB CAM Files
> Download Microchip Firmware